
A guide to getting started with Quarkus, using que CLI
If you read my last article about Quarkus, you know the characteristics and features of Quarkus, which means that we are ready to create our first cloud native app.
In this post, I will present to you the creation of my first app in Quarkus, which is a first post of a series to go deep dive into the Quarkus resources.
💡In order not to miss the next readings, subscribe to the Newsletter and receive everything in your email.
1. Install
The first thing to do is install the Quarkus CLI, the CLI is a way to do it, you could also create your project in start coding and use maven to run it and also enjoy the Live Coding experience.
Live Coding is nothing more than making changes made to my code available without having to restart the server.
Let’s go install via the command line, using JBang on my choice terminal (Linux, Mac OS or Git bash for Windows).
curl -Ls https://sh.jbang.dev | bash -s - trust add https://repo1.maven.org/maven2/io/quarkus/quarkus-cli/
curl -Ls https://sh.jbang.dev | bash -s - app install --fresh --force quarkus@quarkusio
It’s possible find more installation options on the Quarkus documentation.
2. Create the app
Now, let create the first project, running the following command.
quarkus create && cd code-with-quarkus
The app will be created with default extensions that you can customize after.
A similar log to the image below should be seen in the terminal.

I also want to check the health of my App, then I will install the SmallRye:
quarkus extension add 'smallrye-health'3. Run the App
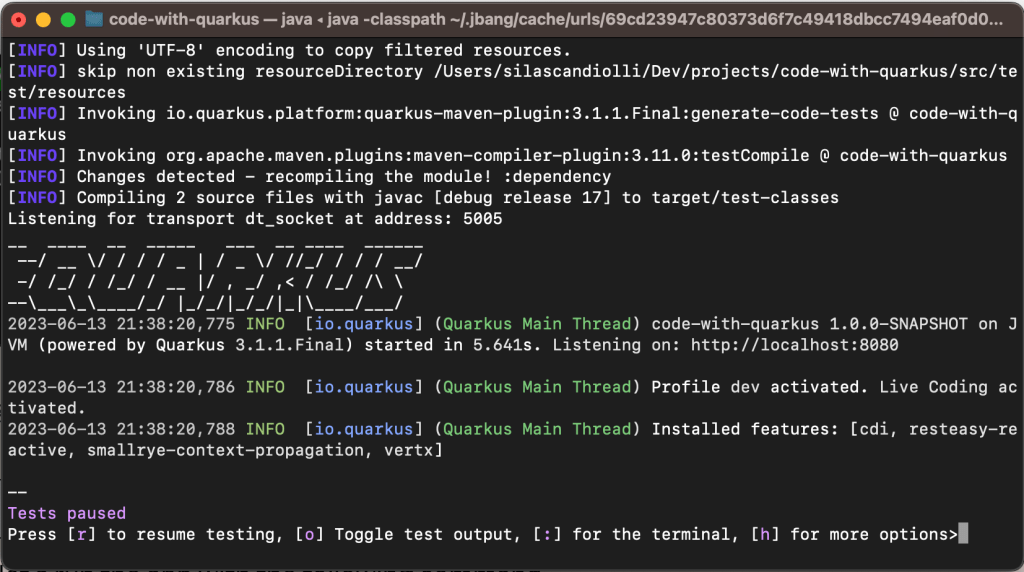
And finally, let’s run the app with the following command.
quarkus dev
Running the above command a similar log to the image below should be seen in the terminal. The app should be available on http://localhost:8080.
The result of my work until that is pretty simple, but could be a base of much more.
To check if my App is running well, I gonna use this URL http://localhost:8080/q/health-ui/

Or I can check through the Quarkus Dev UI http://localhost:8080/q/dev-ui/io.quarkus.quarkus-smallrye-health/health
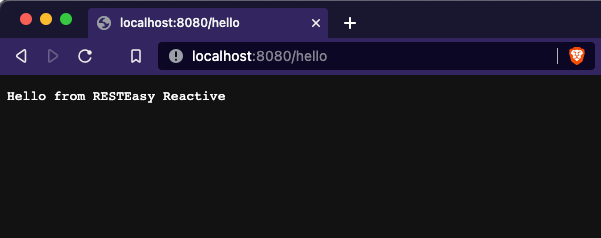
To do a request to my first resource, I gonna use this URL on the browser http://localhost:8080/hello
4. Refactoring
See well, the app is running with live coding, it’s possible to open and edit the code.
There is a class GreetingResource.class where I can add a new endpoint changing a bit. Or rather, I can rename the class to CustomerResource.class and add resources that make more sense.
But before that, let’s add a new dependency:
<dependency>
   <groupId>io.quarkus</groupId>
   <artifactId>quarkus-resteasy-reactive-jsonb</artifactId>
</dependency>
Now let’s create my model class to represent the Customer:
public class Customer {

    private UUID id;
    private String name;
    private String email;

    public Customer() {}

    public Customer(UUID id, String name, String email) {
        this.id = id;
        this.name = name;
        this.email = email;
    }
}
I’m creating a class for access and manipulate my data:
@Singleton
public class CustomerData {

    private Set<Customer> customersData = Collections.synchronizedSet(new LinkedHashSet<>());;

    /**
     * Our startup data
     */
    public CustomerData() {
        customersData.add(new Customer(UUID.randomUUID(), "John", "joao@gmail.com"));
        customersData.add(new Customer(UUID.randomUUID(), "Silas", "silas@gmail.com"));
    }

    public Customer create(Customer customer) {
        customersData.add(new Customer(UUID.randomUUID(), customer.getName(), customer.getEmail()));
        return customer;
    }

    public Optional<Customer> find(UUID uuid) {
        return customersData.stream().filter(c -> c.id.equals(uuid)).findFirst();
    }

    public Collection<Customer> findAll() {
        return customersData;
    }
}
Now I want to refactor the resource class for that:
@Path("/customers")
@Produces(MediaType.APPLICATION_JSON)
@Consumes(MediaType.APPLICATION_JSON)
public class CustomerResource {

    @Inject
    CustomerData customerData;

    @GET
    @Path("/{uuid}")
    public Response hello(UUID uuid) {
        Optional<Customer> customer = customerData.find(uuid);
        if (customer.isEmpty())
            return Response.noContent().build();

        return Response.ok(customer.get()).build();
    }

    @GET
    @Produces(MediaType.APPLICATION_JSON)
    public Response findAll() {
        return Response.ok(customerData.findAll()).build();
    }

    @POST
    public Response create(Customer customer) {
        customerData.create(customer);
        return Response.created(URI.create("/customers/" + customer.id.toString())).build();
    }

}
That’s pretty basic, right?! Now check the new endpoint and see working well http://localhost:8080/customers
To get all the customers:
curl -X GET -H "Content-Type: application/json" http://localhost:8080/customers | json_pp
To create a new customer:
curl -X POST -H "Content-Type: application/json" -d '{"name" : "Marie", "email": "marie@gmail.com"}' http://localhost:8080/customersTo get a customer by id:
curl -X GET -H "Content-Type: application/json" http://localhost:8080/customers/02b29ba6-93bd-4583-bdac-a4feed7901bd | json_pp
With that, your first App with Quarkus is ready to become a simple application like a CRUD (create, read, update, delete).
5. Build and Run
Now, let say I finished the development and I want build, package and run my App using the .jar, then I will do that:
Create the jar:
./mvnw clean package
Run the jar:
java -jar /target/quarkus-app/quarkus-run.jarNext steps
In the next post, I want to explore other Quarkus tools.
To use the code that I used on this examples, please check here.
If you have any doubt or comment about this content, please let me know.
I would love to be able to help on your journey. And I will be happy to hear your feedback on this text.
